Imagine this: 200 guests walk into your wedding venue. No one knows where to sit. Tables are labeled with numbers, not names. Someone’s aunt ends up next to the groom’s ex. Someone else spends the whole night standing because no one claimed their seat. It’s not chaos-it’s avoidable. The secret? Well-designed escort cards for large guest lists.
Escort cards aren’t just pretty decorations. They’re the quiet backbone of guest flow. For weddings with over 150 people, they turn confusion into calm. You don’t need a wedding planner to get this right. You just need a clear system and a layout that works.
Why Escort Cards Matter More Than You Think
At small weddings, guests know each other. They sit where they want. At big ones? People come from three states, three countries. Some are coworkers. Some are childhood friends. Some are distant relatives you haven’t seen since high school.
Without escort cards, seating becomes a guessing game. People linger at the entrance. Usual suspects grab the front tables. The quiet ones end up stuck in the back corner. It’s awkward. It’s stressful. And it takes away from your day.
Studies from wedding industry surveys show that couples who use escort cards report 68% fewer guest complaints about seating. That’s not magic. It’s planning.
Good escort cards do three things:
- They guide guests smoothly to their seats
- They reduce pressure on the wedding party to manage seating
- They make guests feel seen-your name on a card means you mattered enough to be planned for
Planning for 150+ Guests: The Real Logistics
Let’s say you have 220 guests. That’s not just a lot of cards. That’s a lot of moving parts.
First, get your final guest count locked in at least 3 weeks before the wedding. No last-minute RSVPs. No "maybe"s. If someone hasn’t replied by the deadline, call them. This isn’t rude-it’s necessary.
Next, group people. Don’t just list names alphabetically. Group by:
- Family (immediate, extended, in-laws)
- Friend groups (college, work, childhood)
- Professional connections (clients, colleagues)
- Age or mobility needs (elderly, young kids, accessibility)
Each group gets its own table or section. A table of 8 is ideal. It’s big enough for conversation, small enough to feel cozy. If you have 220 guests, you need about 28 tables. That’s 28 table numbers or names.
Now, assign names to tables. Don’t use numbers. Use something meaningful: flower names, travel destinations, song titles, or even your favorite books. "Table Lavender" is easier to remember than "Table 17."
Then, print your escort cards. Each card has one guest’s name and one table name. No exceptions. If you’re doing this yourself, use a laser printer. Inkjet smudges. Handwritten cards look beautiful-but not at 200 cards. You’ll spend hours, and you’ll make mistakes.
Layouts That Actually Work for Big Crowds
The layout of your escort cards is just as important as the names on them.
Here are three proven setups for large guest lists:
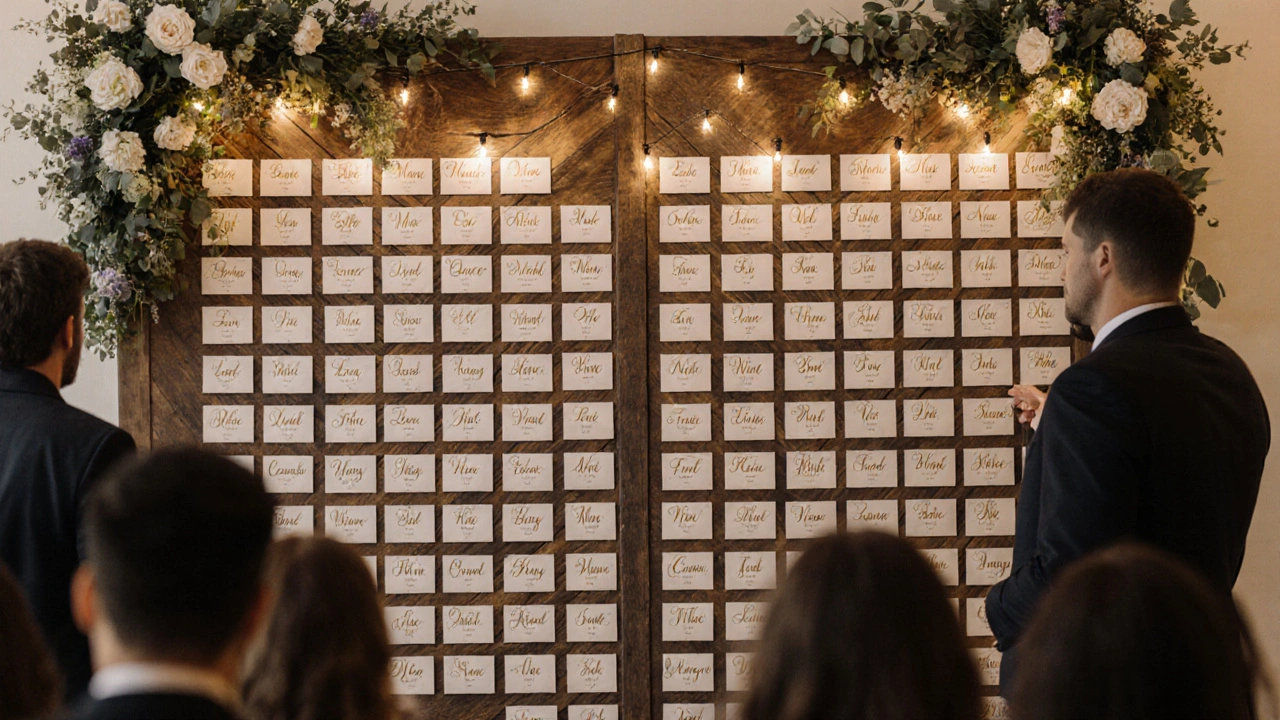
1. The Alphabetical Wall
Hang a large board or backdrop at the entrance. Arrange cards alphabetically by last name. Use large, clear fonts. Put each letter on its own section with a divider. A-Cl, Co-Ha, He-Li, Lo-Z.
Pros: Simple for guests to find their name. Easy to update if someone cancels.
Cons: Takes up wall space. Hard to see if the room is crowded. Guests might not know their last name’s section.
Best for: Formal weddings with older guests who prefer traditional systems.
2. The Table Cluster System
Group tables by category: "Family Tables," "Work Friends," "College Crew," "International Guests." Put each cluster on its own table or stand. Label the cluster clearly. Then, arrange the cards within each cluster alphabetically.
Pros: Guests find their group fast. Encourages people to sit with people they know. Reduces wandering.
Cons: Requires more signage. Needs a larger entrance area.
Best for: Casual, outdoor, or destination weddings where guests are mixed groups.
3. The Digital + Physical Hybrid
Send a digital seating chart via email or a wedding website. Then, at the entrance, place a printed version of the same chart with escort cards beside it. Guests can scan a QR code to see the full layout, or just grab their card.
Pros: Reduces paper waste. Lets guests preview seating ahead of time. Great for tech-savvy crowds.
Cons: Not everyone uses phones. Older guests might feel left out. Requires backup printed copies.
Best for: Modern, urban weddings with a mix of ages.

What to Avoid
Here’s what breaks the system:
- Using tiny cards-if you can’t read the name from 2 feet away, it’s useless.
- Putting cards on the floor-guests trip. Cards get stepped on. It looks sloppy.
- Forgetting to include middle names-what if your cousin is "Mary Elizabeth Smith"? If you only write "Mary," someone else might take her card.
- Not testing the layout-set up your display the day before. Walk through it. Ask a friend to find their name. If it takes more than 15 seconds, fix it.
- Using fragile materials-paper tears. Cardstock bends. Use thick, coated cardstock. If it’s windy outside, use weighted stands or clipboards.
And don’t put escort cards at the bar. Don’t put them at the gift table. Don’t mix them with programs or menus. One place. One system. No confusion.
Real-World Example: A 210-Guest Wedding in Perth
Last year, a couple in Fremantle had 210 guests. They used the Table Cluster System. They grouped tables as: "Family," "Work Colleagues," "School Friends," "International," and "Kids & Teens."
Each cluster had its own wooden stand with 5-6 small boards, each holding 20 cards. The stands were labeled with bold, painted letters. They used recycled cardstock with gold lettering. The whole setup cost under $120.
At the event, guests found their seats in under 2 minutes. No one asked where to sit. The bride’s 80-year-old uncle didn’t need help. The 12-year-old cousins found their table without crying. The couple didn’t have to run around fixing seating.
They got 17 compliments on their seating system. Not on the cake. Not on the flowers. On the cards.

DIY vs. Professional Help
You can do this yourself. But only if you have time.
If you’re printing 200+ cards, you’ll need:
- A reliable printer (laser, not inkjet)
- Cardstock (at least 110 lb weight)
- Time (minimum 8 hours to design, print, cut, and sort)
- Help (at least two people to sort and organize)
If you’re overwhelmed, hire a local stationery designer. In Perth, many offer wedding escort card packages for under $300. That includes design, printing, and assembly. It’s worth it if you’re juggling other details.
Don’t let the cost scare you. A $250 escort card setup saves you 10+ hours of stress and dozens of awkward conversations on your wedding day.
Final Checklist
Three days before the wedding, check this:
- Final guest list is locked-no "maybe"s.
- All names are spelled correctly-double-check with family.
- Each card has one name and one table.
- Table names are clear and meaningful.
- Layout is tested with a friend.
- Printed cards are stored flat, not bent.
- Extra cards are printed (5-10) for last-minute additions.
- Display stands are ready and stable.
If you’ve done this, your guests won’t remember the escort cards. And that’s the point. They’ll remember the night. The music. The dancing. The way your dad cried during the first dance.
That’s what matters. The cards? They just made sure everyone got to it.
How many escort cards do I need for 200 guests?
You need exactly one card per guest. That’s 200 cards. Don’t make extras unless you expect last-minute additions like plus-ones or uninvited family members. Keep 5-10 backup cards just in case.
Can I use digital escort cards instead of physical ones?
You can, but don’t rely on them alone. Send a digital seating chart via email or a wedding website, but still have physical cards at the entrance. Not everyone checks their phone. Older guests, international visitors, and people in a rush won’t use a QR code. Physical cards are foolproof.
Should I put last names or first names on escort cards?
Always use full names: first and last. If you only write "Emily," someone else named Emily might take the card. Even if you’re sure there’s only one Emily, mistakes happen. Full names eliminate ambiguity.
What’s the best material for escort cards?
Use 110 lb or heavier cardstock. It’s thick enough to stand on its own, won’t bend in your hand, and looks professional. Avoid thin paper-it tears easily and looks cheap. If you’re printing at home, use matte or satin finish to avoid glare under lights.
How early should I prepare escort cards?
Start designing and printing at least 3 weeks before the wedding. Printing and cutting 200 cards takes time. If you’re hiring a professional, book them 6 weeks out. Don’t wait until the week before-you’ll regret it.
Can I use the same table names as my table centerpieces?
Yes, and you should. If your centerpieces are labeled "Lavender," "Saffron," and "Tahiti," use those same names on the escort cards. It creates consistency. Guests see the centerpiece, then find their card. It’s intuitive and beautiful.
What if someone shows up without an escort card?
Have a designated person-like a wedding attendant or a close friend-ready to help. Keep a printed master list and a stack of blank backup cards. If someone’s name isn’t found, quickly look them up and hand them a card. Stay calm. This happens more often than you think.